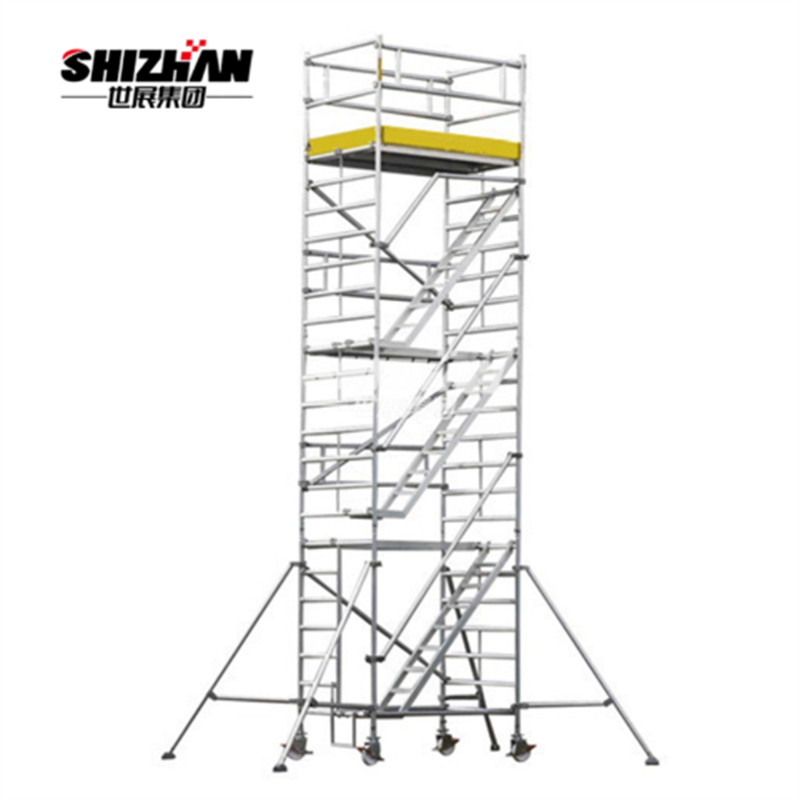
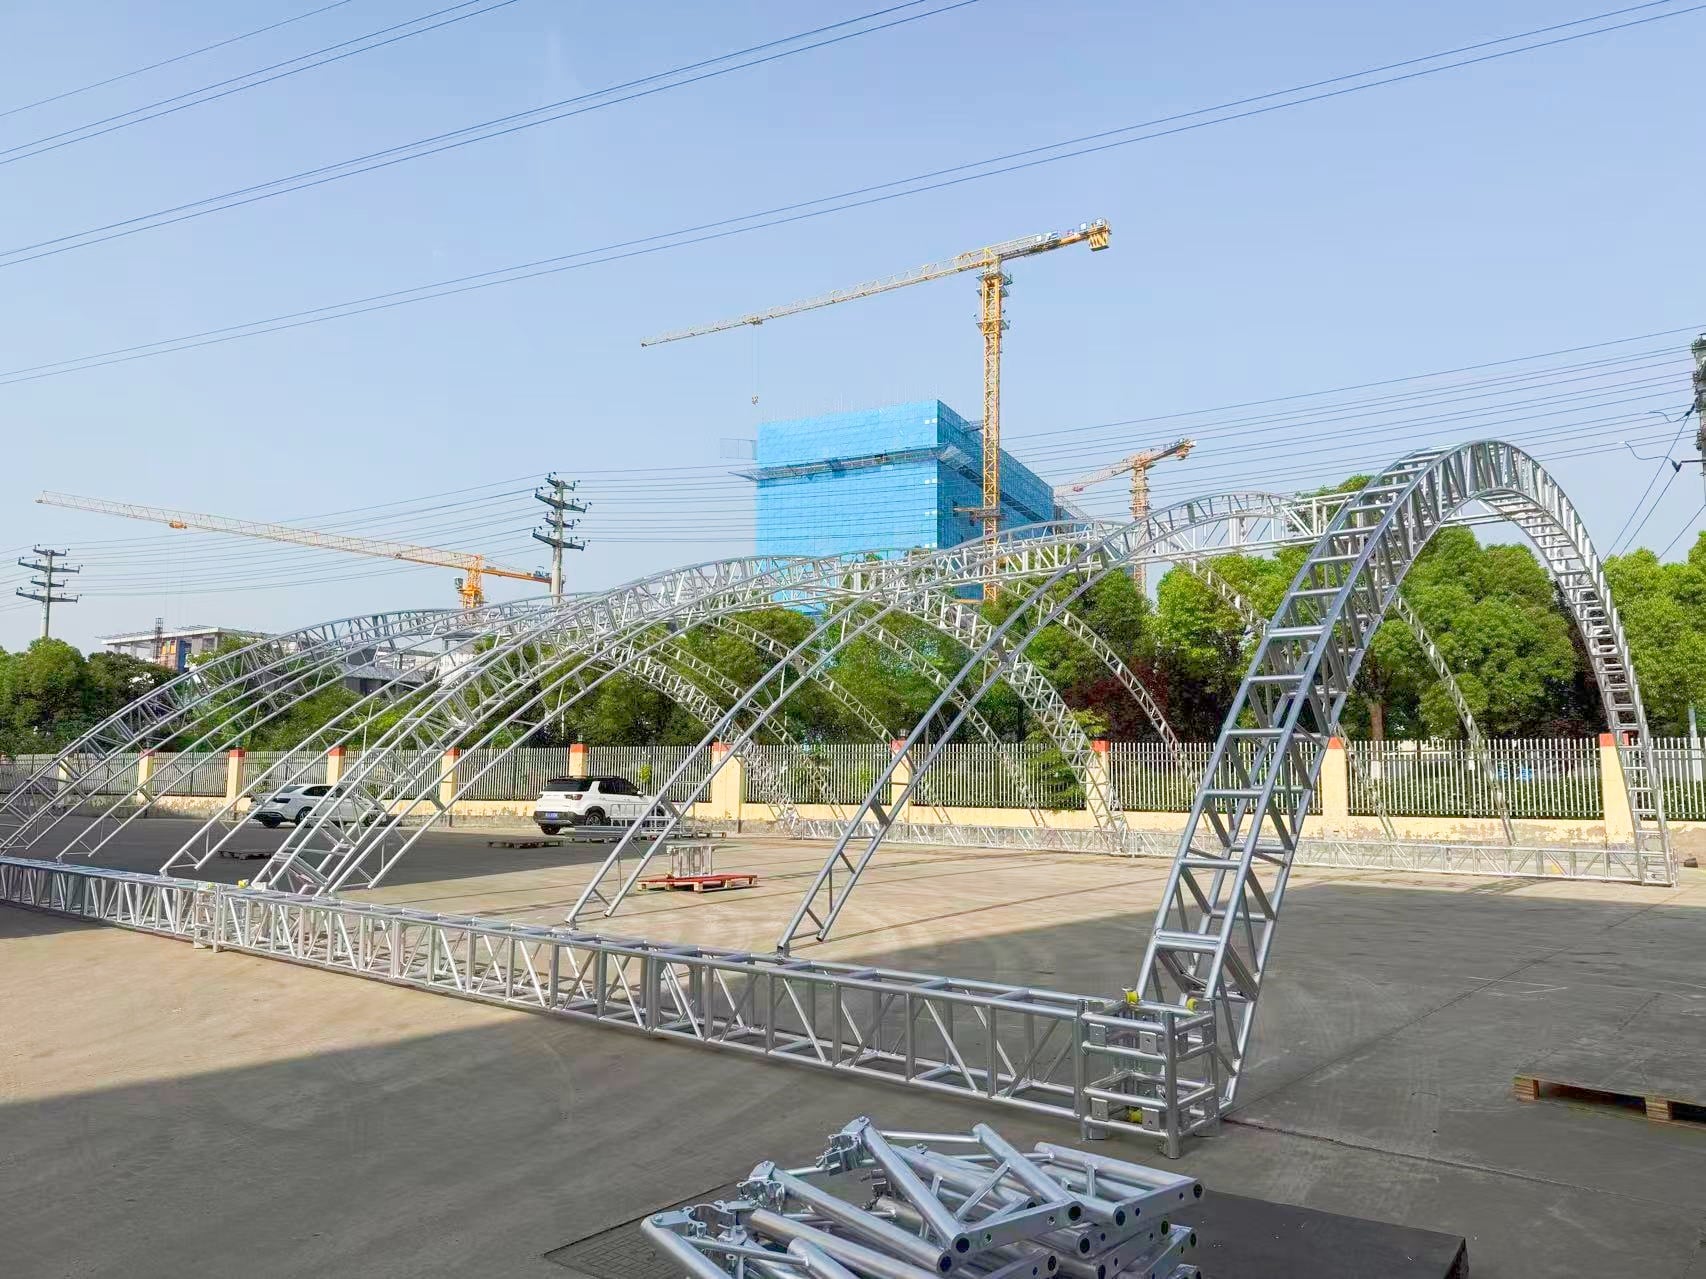
In concerts, exhibitions, press conferences, and other events, lighting trusses are the core structure supporting lighting, sound, and other equipment, and their construction quality directly affects the safety and effectiveness of the event. As a source manufacturer specializing in aluminum alloy trusses for 16 years, Jiangsu Shizhan Group has summarized a standardized lighting truss construction process based on its own product characteristics and engineering experience, applicable to its mainstream aluminum alloy lighting truss products such as the Spigot series and Bolt series.
Setting up a lighting rig is not simply "direct assembly"; thorough preparation is fundamental to safety and requires attention to three key aspects: product inspection, site survey, and tool preparation .
1. For product compliance and integrity checks
Prioritize lighting rigs with CE/TUV/ISO9001 certification (such as the World Exhibition Group's aluminum alloy lighting rigs, all of which have passed third-party load tests). After unpacking, verify the following information:
1. Truss main body: Check whether the 6061-T6/6082-T6 aluminum alloy material is deformed or cracked, and whether the connection between the main rod (Φ50.0x3.0mm) and the secondary rod (Φ20.0x2.0mm) is flat;
2. Accessories: Confirm that the quantity of pins (Spigot series), bolts (Bolt series), connecting sleeves, etc. are complete and free from rust or damage;
3. Technical documents: Check the product specification sheet to confirm whether the load parameters (distributed load 1430kg/m, concentrated load 2848kg) of the selected model (such as SZSST-20 2m square tube truss) match the total weight of the equipment.
2. Site survey and planning
1. Ground conditions: The ground must be flat and hard (bearing capacity ≥ 500 kg/m²). Avoid soft ground or slopes. If the ground is uneven, it must be leveled in advance with wooden blocks or adjustable bases.
2. Space planning: Determine the span of the lighting truss according to the needs of the event (e.g., for an 8m span, you can choose SZSST-40 4m truss splicing), and reserve space for equipment installation and personnel operation passage (width ≥ 1.2m).
3. Environmental inspection: Check for obstacles such as power lines and pipes above, avoid windy areas or sources of vibration, and consider wind protection when building outdoors (suspend work when the wind speed is ≥5).
3. Tools and safety equipment preparation
1. Tools: wrench (matching bolt specifications), level, measuring tape, lifting equipment (such as electric hoist, the load-bearing capacity must be ≥ 1.2 times the total weight of the truss and equipment).
2. Safety equipment: safety helmet, non-slip shoes, safety belt (for use when working at heights), gloves (to avoid scratches from the aluminum alloy edges).
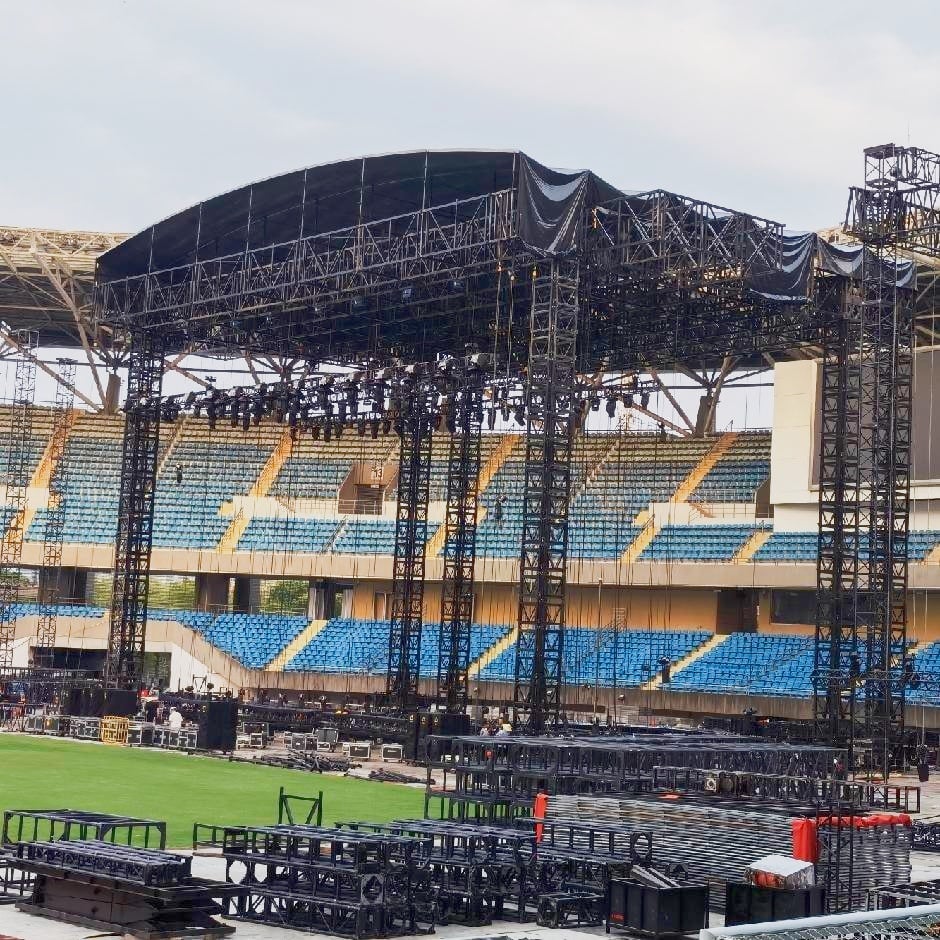
Based on experience from thousands of projects, World Exhibition Group has broken down the construction of lighting trusses into three main stages: "foundation fixing - truss connection - lifting and commissioning," with clear operating procedures for each step.
1. Foundation stabilization: Strengthen the bottom support
1. Step 1: According to the layout of the lighting rig, mark the base positions on the ground, place the adjustable bases (such as the World Exhibition SZABJ-600 aluminum base), and use a level to calibrate to ensure that all bases are on the same horizontal plane;
2. Step 2: Secure the base to the ground with expansion bolts (for outdoor or heavy-duty scenarios), or lay a 10cm thick steel plate to distribute the pressure (for indoor scenarios).
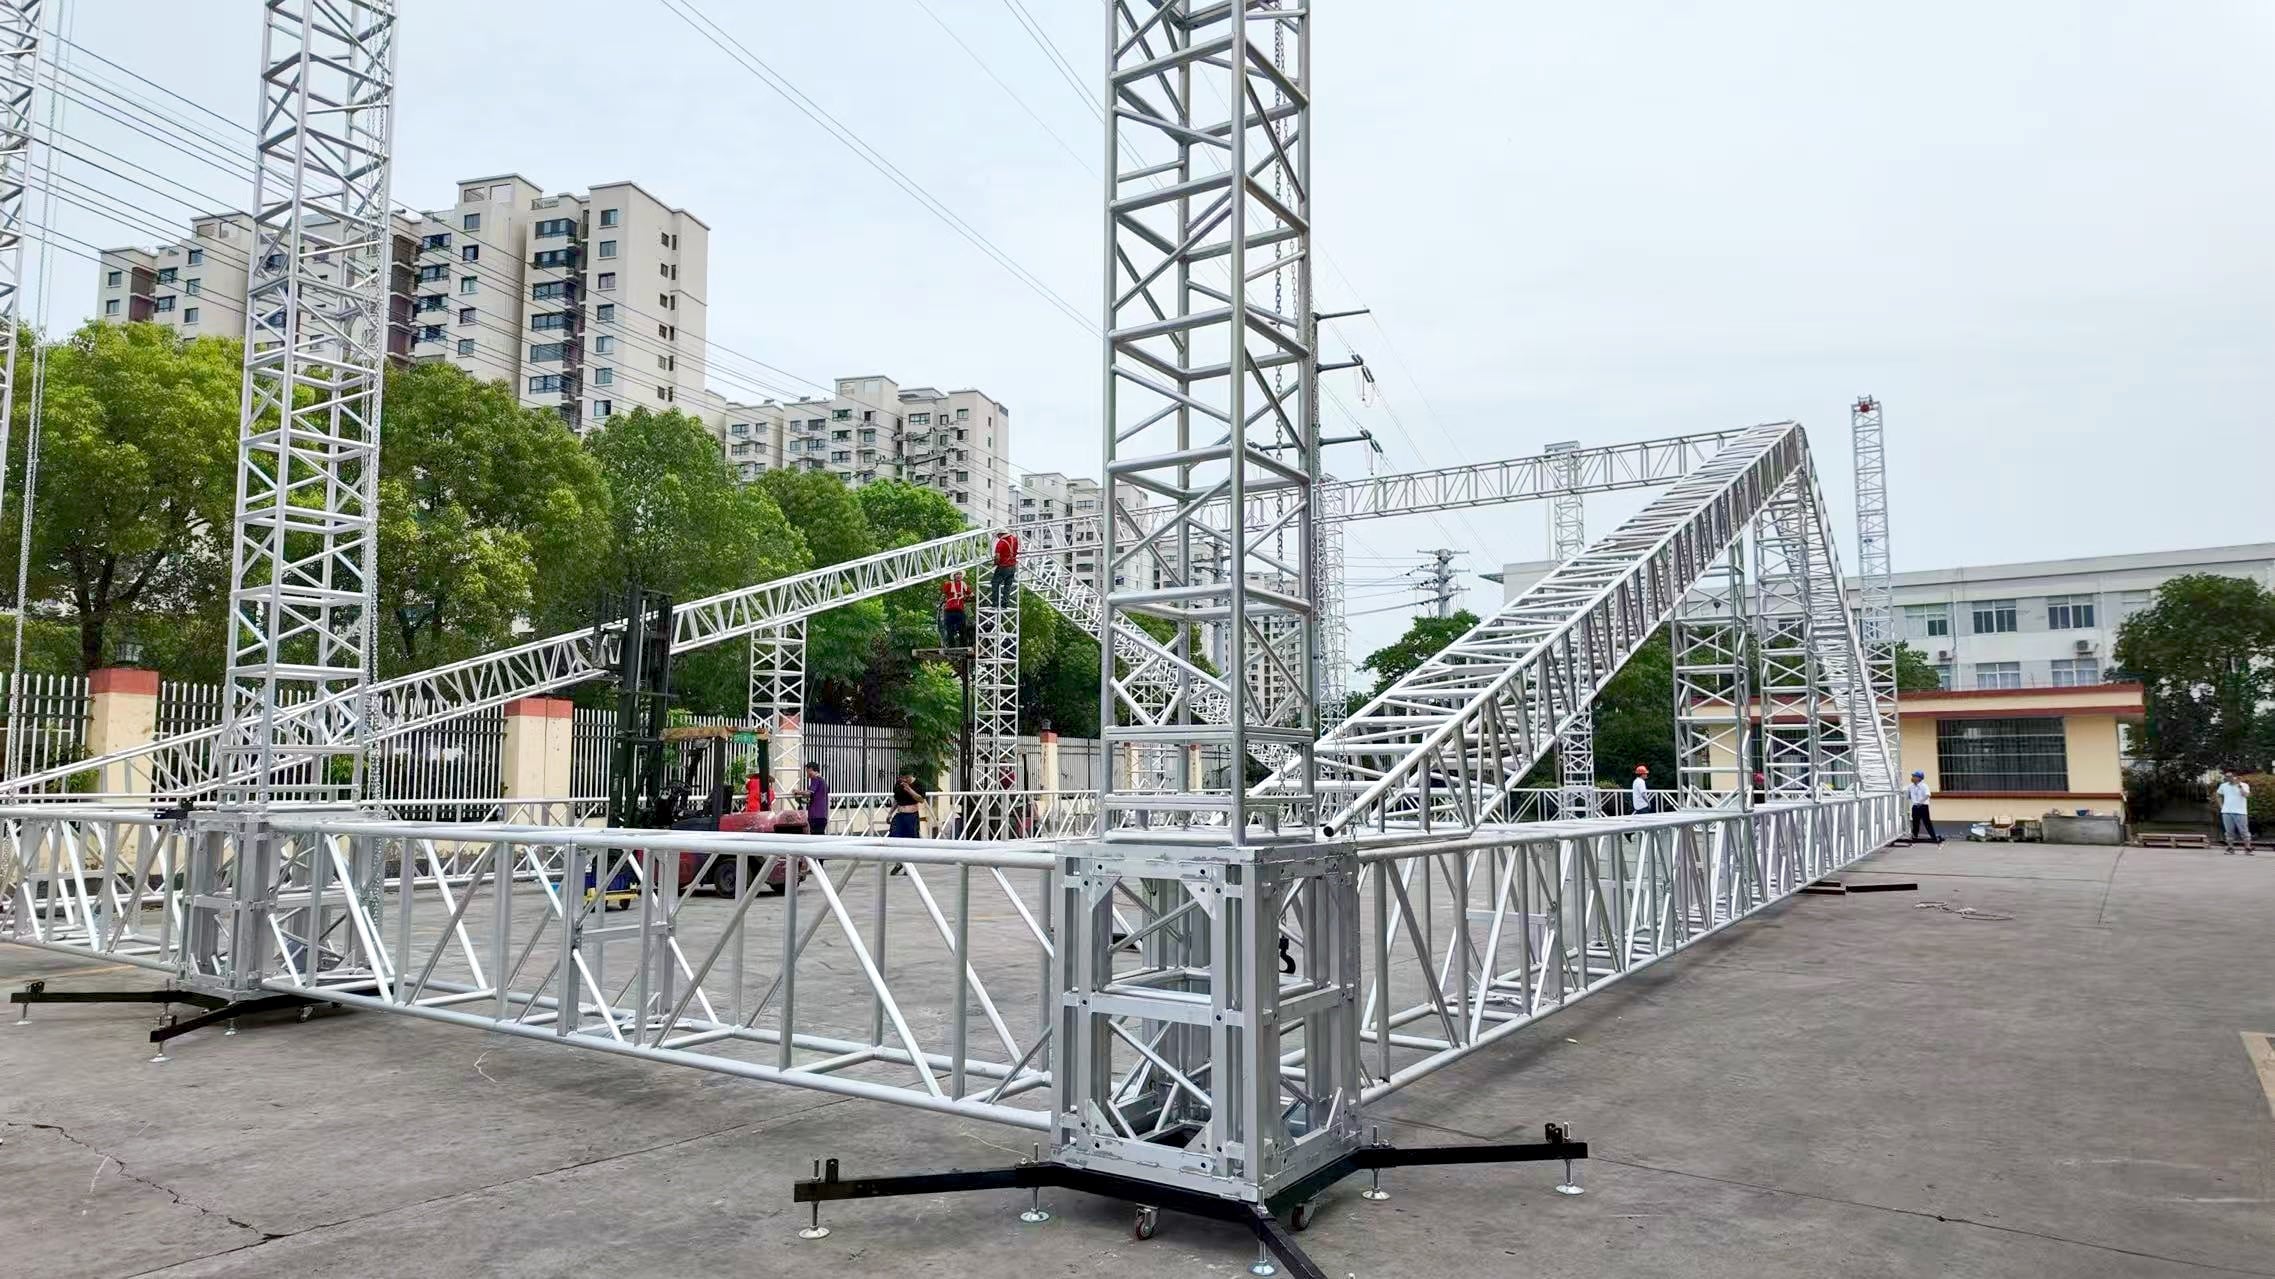
2. Truss splicing: precise alignment for enhanced stability
1. Step 3: Take out the first truss section, align its bottom sleeve with the base interface, and insert the positioning pin (Note: the pin must be fully inserted, and the exposed length should not exceed 5mm).
2. Step 4: Assemble the second truss section: First, install tapered joints ("Put Conicals") at the connection end of the first truss section, and then fit the sleeve of the second truss section into the tapered joints to ensure a seamless fit at the interface.
3. Step 5: Insert the connecting pins and check if the pins are locked. If it is a bolted truss (such as SZSBTJ-06), tighten the bolts with a wrench (torque ≥30N・m).
4. Step 6: Repeat steps 4-5 to complete all horizontal truss splicing. After splicing 3 segments, a level should be used to calibrate the truss to prevent it from shifting.
3. Lifting and reinforcement: ensuring structural stability
1. Step 7: Install lifting points at both ends of the truss (they must be located at the center of gravity of the truss to avoid tilting), connect the electric hoist, and slowly lift the truss to the preset height (lifting speed ≤ 0.5m/min).
2. Step 8: After the truss is in place, install the diagonal brace. The angle between the diagonal brace and the horizontal truss should be 45°-60°. Fix it with bolts or pins to enhance the resistance to lateral displacement.
3. Step 9: Install horizontal connecting rods ("Ledgers") with a spacing of ≤2m to form a grid structure and further distribute the load;
4. Step 10: Secure the truss to the surrounding fixed structures (such as columns) with safety belts. For outdoor scenes, windproof ropes must be installed (at least 2 ropes per 10m span, with an angle ≤30°).
4. Detailed inspection: Eliminating potential risks
1. Step 11: Use a measuring tape to check whether the truss span and height meet the design requirements, with an error ≤ 5mm;
2. Step 12: Manually shake the truss to check if the connections are loose. If there is any abnormal noise or displacement, tighten the pins or bolts again.
3. Step 13: Place the test load (1.1 times the actual equipment weight) evenly on the truss, let it stand for 30 minutes, and observe the truss deflection (e.g., the deflection of a 2m span truss should be ≤1.6mm, which meets the World Exhibition load standard). If there is no obvious deformation, it is qualified.
1. Acceptance Standards
1. Structure: The truss is free from bending and deformation, the connections are secure, and the diagonal braces and connecting rods are installed completely.
2. Safety: The lifting equipment has been removed, windproof and anti-slip measures are in place, and warning signs have been set up around the area;
3. Load: The total weight of the equipment should be less than or equal to the rated load of the truss (e.g., the concentrated load of a 10m span SZSST-40 truss should be less than or equal to 612kg). Avoid overloading.
2. Routine maintenance
1. After the event, dismantle the equipment in the following order: first remove the equipment, then the diagonal braces, and finally the main truss, to avoid violent dismantling.
2. After cleaning the truss, check whether the surface coating (such as powder coating) has peeled off. If there is rust, it needs to be repainted in time.
3. Accessories should be stored separately, with small parts such as pins and bolts stored separately to avoid loss.
By following the steps above, the construction of lighting trusses can be ensured to be safe and efficient, while maximizing the advantages of aluminum alloy trusses in terms of "lightweight and high strength." World Exhibition Group can provide customized lighting truss solutions, coupled with remote guidance from professional engineers, to help various events be successfully implemented.
 Hot News
2024-08-21
2024-01-07
2018-10-18

Welcome to SZgroup(SHIZHAN), the direct manufacturer for top truss stage brands in the world with 24 years experience!
80# Xixin Road, Xibei Town, Xishan District, Wuxi, Jiangsu, China
Copyright © Jiangsu Shizhan Group Co., Ltd. All Rights Reserved - Privacy Policy - Blog